 info@bamchocolate.com
  Login
Login 

 en
en 
 BAM Cake converter
  Login
Login Claudia
Avtorica vsebin


 Reading time:
9 minutes
Reading time:
9 minutes 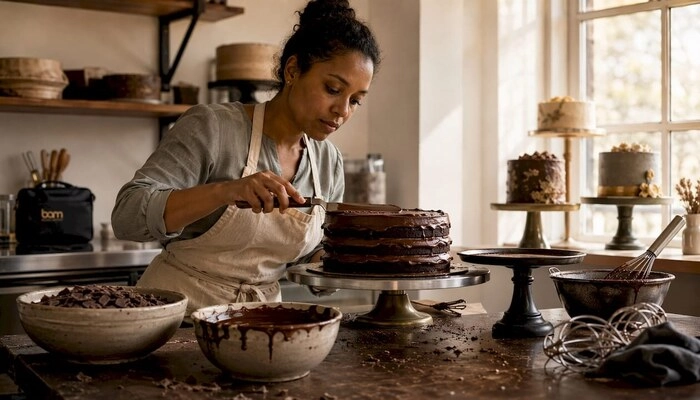
Discover what ganache layering is and how its perfect chocolate-cream ratio offers stability, flavor, and versatility for stunning cakes.
Ganache layering is the technique of spreading a chocolate and cream emulsion between cake layers to create a stable, flavourful filling that sets firm. The industry standard ratio is 1:1 chocolate to cream by weight, which gives a consistency that spreads cleanly and holds its shape once chilled. Unlike buttercream, ganache sets with genuine structural rigidity, making it the preferred choice for tall stacked cakes. The result is a filling that contributes both flavour depth and physical support to every tier.
Key benefits of using ganache as a cake layer:
Ganache requires just two ingredients: chocolate and heavy cream. What changes everything is the proportion between them.
Three ratios cover the full range of uses:
Dark chocolate produces the firmest ganache because of its higher cacao solids and lower sugar content. Milk chocolate contains more sugar and milk solids, so the same 1:1 ratio gives a softer result. White chocolate has no cacao solids at all and sets the softest of the three; a 3:1 ratio is often needed to achieve a workable layering consistency with white chocolate. When choosing chocolate for baking, look for a minimum of 55% cacao for dark ganache intended as a layer filling.
Common flavour infusions that work well in ganache include vanilla extract, espresso powder, orange zest, sea salt, and liqueurs such as Cointreau or Amaretto. Add these to the warm cream before pouring over the chocolate.
Pro Tip: If your ganache thickens too much in the fridge, leave it at room temperature for 20–30 minutes rather than microwaving it. Gentle, even warming preserves the emulsion and prevents graininess.
Good results come from preparation before a single drop of ganache touches the cake. Chilling the baked sponge layers is the first step, not an optional one. Warm cake melts ganache on contact, causing it to absorb into the crumb and lose its structural function.
Pro Tip: Spreading ganache on a rotating turntable is the single biggest upgrade you can make to your technique. It removes the uneven pressure that causes ridges and thin patches.
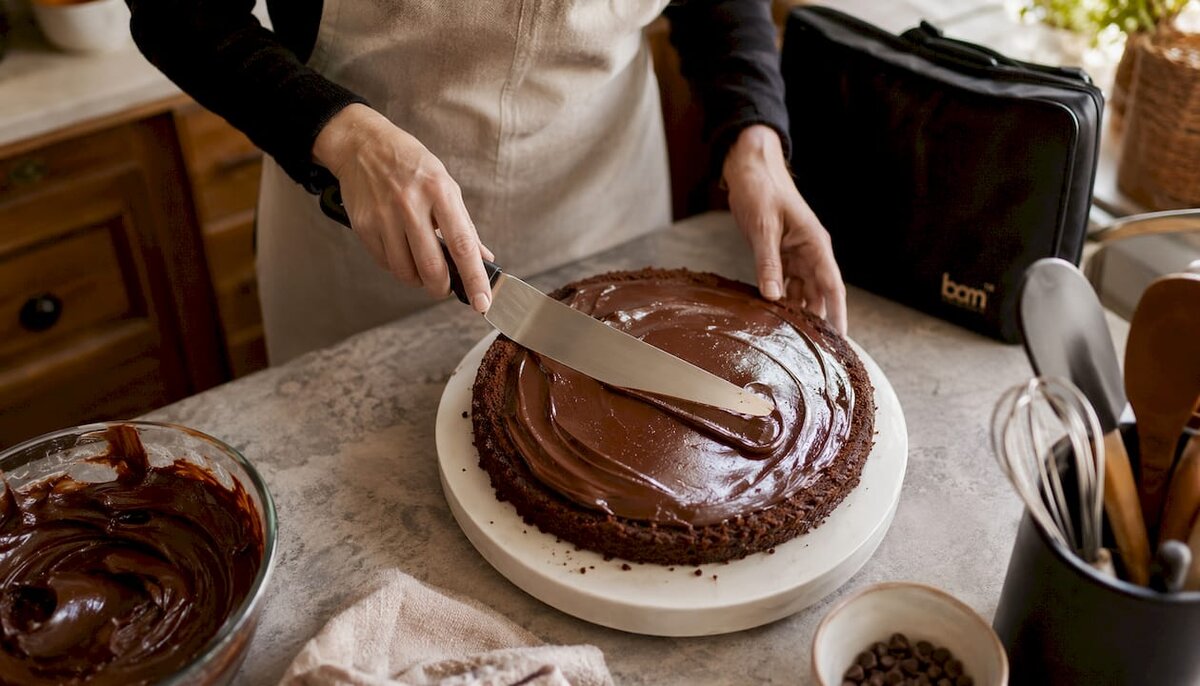
Most ganache problems trace back to two causes: incorrect temperature and misaligned layers. Knowing which issue you are dealing with makes fixing it straightforward.
Bulging between layers happens when ganache is treated like soft buttercream and applied too generously. Placing a buttercream dam around the perimeter of a softer ganache filling prevents it from being squeezed outward under the weight of the layers above. The dam acts as a retaining wall, keeping the filling centred and contained.
Oozing is a different problem. It usually signals that the ganache was too warm when applied, or that the layers were not level. Chilling the ganache and levelling the sponge layers resolves this more reliably than simply stiffening the ganache ratio, which makes it harder to spread without tearing the crumb.
Cracking on the exterior usually means the ganache was chilled too quickly or the cake was moved while the ganache was still setting. A split ganache (where the fat separates from the liquid) can often be rescued by adding a small splash of warm cream and stirring gently from the centre. For structural support in complex cakes, the principles used in modelling chocolate for pastry decorating apply here too: temperature control at every stage prevents most failures.
Quantity depends on three variables: cake diameter, number of layers, and the thickness of each ganache layer. A thicker filling requires more ganache, and a larger diameter means more surface area to cover on both the filling and the exterior.
For a standard three-layer cake, approximately 21 oz of ganache is used for an 8-inch cake, covering both the filling and the exterior coat. Smaller cakes need proportionally less, but it is always worth making a little extra. Running short mid-assembly is far more disruptive than having ganache left over.
| Cake diameter | Layers | Approximate ganache needed |
|---|---|---|
| 6 inch | 3 | about 15 oz |
| 8 inch | 3 | about 21 oz |
| 10 inch | 3 | about 28 oz |
| — | 3 | substantial quantity |
Factors that affect how much ganache you need:
Pro Tip: Prepare ganache by weight, not volume. Cream and chocolate have different densities, so measuring by cups gives inconsistent results. A digital kitchen scale removes the guesswork entirely.
The quality of the chocolate you use determines the flavour ceiling of the finished cake. High-cacao dark chocolate produces a ganache with depth and slight bitterness that balances sweet sponge. Milk chocolate gives a creamier, gentler result suited to lighter cakes. White chocolate ganache, when made with a quality product, delivers a rich vanilla-forward flavour that pairs well with fruit fillings.
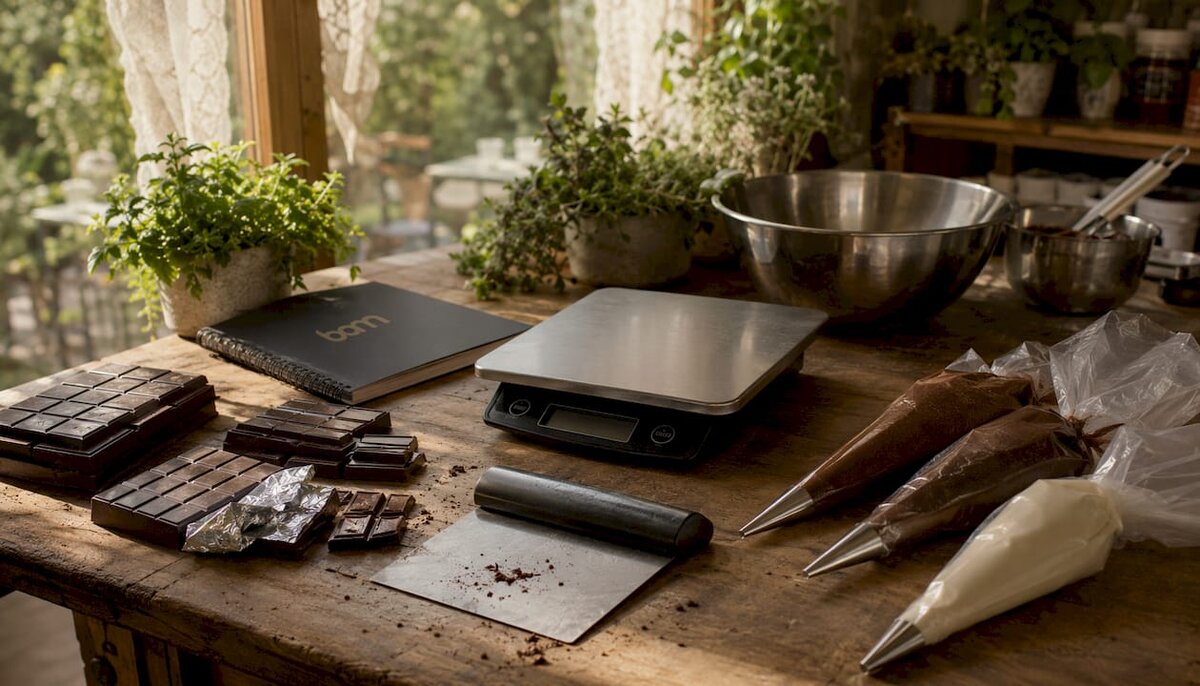
Bamchocolate stocks premium dark, milk, and white chocolates selected for their cacao content and melt behaviour, both of which directly affect ganache consistency. The versatile ganache cream guide on the Bamchocolate site covers how each chocolate type behaves across different ratios, which is useful when you are adapting a recipe for a specific result.
For tools, the essentials are straightforward:
Bamchocolate’s baking accessories range includes the tools needed for professional ganache results at home, from spatulas to turntables. The BAM Confectionery Set Creamy Fillings is a practical starting point for bakers who want to work with ganache-compatible ingredients without sourcing each component separately.
Pro Tip: Warm your bench scraper briefly under hot water and dry it before the final pass on the exterior. A warm scraper glides through ganache without dragging, giving a cleaner finish than a cold one.
For bakers interested in alternative cake structures, the organic vegan cake options using cashew buttercream show how filling choices affect texture and stability in ways that complement ganache layering principles.
Ganache layering produces stable, professional-quality cakes when the correct ratio, temperature, and tools are applied consistently at every stage.
| Point | Details |
|---|---|
| Use the 1:1 ratio for fillings | Equal parts chocolate and cream by weight gives the ideal spreadable, firm-setting consistency for layers. |
| Chill between every stage | Refrigerating after stacking and after the crumb coat prevents sagging, bulging, and uneven edges. |
| Match chocolate type to firmness | Dark chocolate sets firmest; white chocolate needs a higher chocolate ratio to achieve the same stability. |
| A moderate amount suitable for an 8-inch three-layer cake | Scale quantity up or down based on diameter, layer height, and whether you are coating the exterior. |
| Use a ganache board and bench scraper | Acrylic boards on top and bottom with a scraper produce straight, sharp edges that hand-finishing cannot reliably achieve. |
Yes. Ganache at a 1:1 chocolate-to-cream ratio sets firm enough to support stacked layers while remaining spreadable during assembly. Chill the filled cake for at least 30 minutes before applying the exterior coat.
The three types are defined by ratio: 1:2 (soft glaze or pourable drip), 1:1 (layer filling and thick glaze), and 2:1 (firm ganache for truffles or structured cake covering).
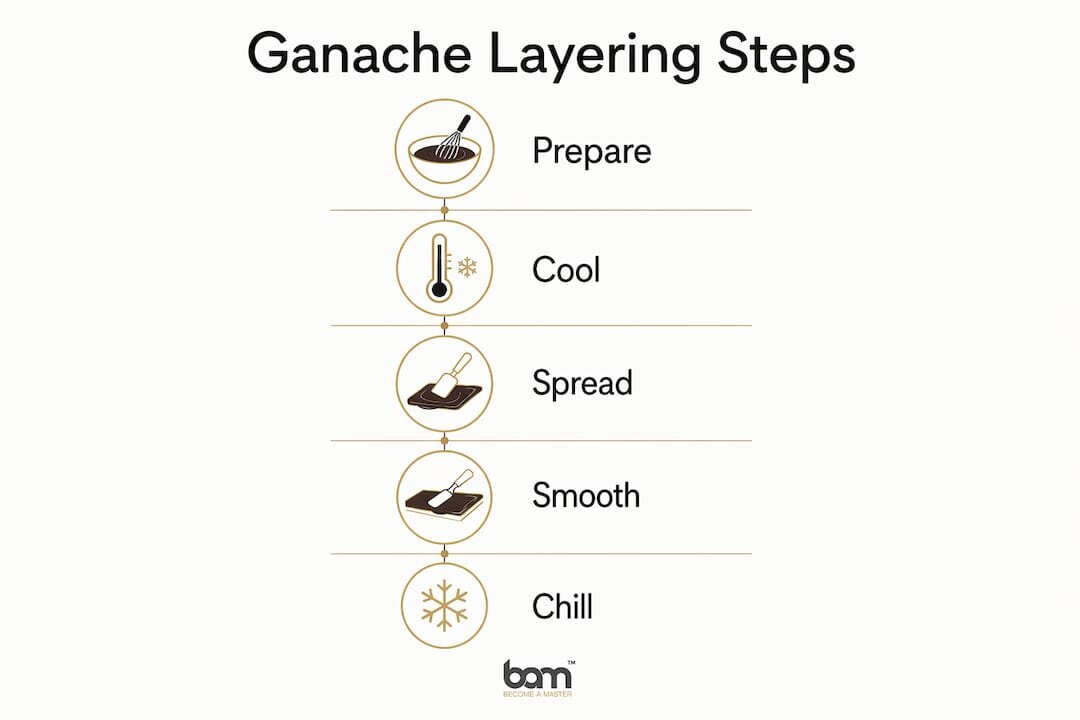
Level and chill your sponge layers, then stack them with an even spread of ganache between each tier using an offset spatula on a turntable. Chill the assembled cake, apply a crumb coat, chill again, then finish with a final ganache coat smoothed with a bench scraper.
For a three-layer 8-inch cake, approximately 21 oz of ganache covers both the filling and the exterior. Larger or smaller cakes require proportionally more or less, and thicker filling layers increase the total quantity needed.
Oozing usually means the ganache was too warm when applied or the sponge layers were not level. Chill the ganache to a firm, spreadable consistency before use and level each layer carefully. A buttercream dam around the perimeter also prevents softer ganache from being displaced under the weight of the layers above.





 Confectionery tips



 Slovenščina
 Hrvatski
 Deutsch
 Italiano
 Česky
Česky
 Polski
 Magyar
 Français
 Slovák
 Nederlands
 Español