 info@bamchocolate.com
  Login
Login 

 en
en 
 BAM Cake converter
  Login
Login Claudia
Avtorica vsebin


 Reading time:
10 minutes
Reading time:
10 minutes 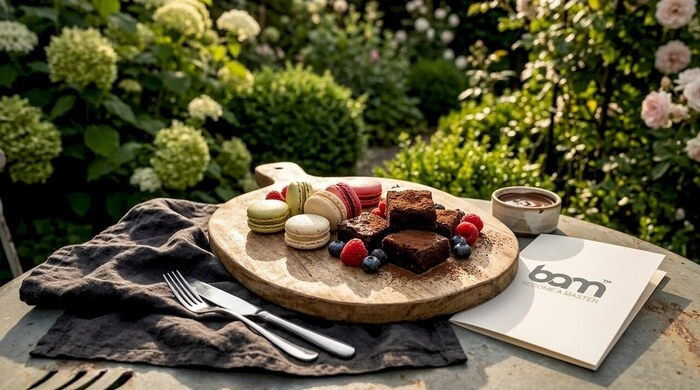
Learn how to create dessert platters that impress! Explore easy tips and dessert choices for any occasion, making every gathering memorable.
TL;DR:
- A dessert platter combines a variety of textures and flavors to create an appealing and balanced presentation. Proper assembly involves a deliberate sequence of placing anchors, large items, lines, soft folds, and fillers within 30 minutes of serving to maintain freshness. Visual interest is enhanced through height, color contrast, and thoughtful arrangement, making even simple boards look intentional and impressive.
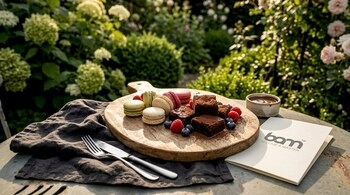
A dessert platter is a curated selection of sweets arranged on a single board or tray to deliver variety in taste, texture, and visual appeal. Knowing how to create dessert platters well means understanding both design and flavour logic. The best platters combine soft, crunchy, rich, and light elements so every guest finds something they want. You do not need professional training or expensive equipment. With the right dessert choices, a few key tools like ramekins and a neutral-coloured board, and a clear assembly sequence, you can build something that looks intentional and impressive every time.
The foundation of any strong dessert platter is variety. Plan for 4 to 6 dessert types that cover the full spectrum of textures and flavours: soft brownies, crunchy biscuits, light meringues, rich truffles, and fresh fruit. Hitting multiple profiles including chocolate, buttery, fruity, chewy, and crunchy creates genuine interest for guests rather than a repetitive spread.
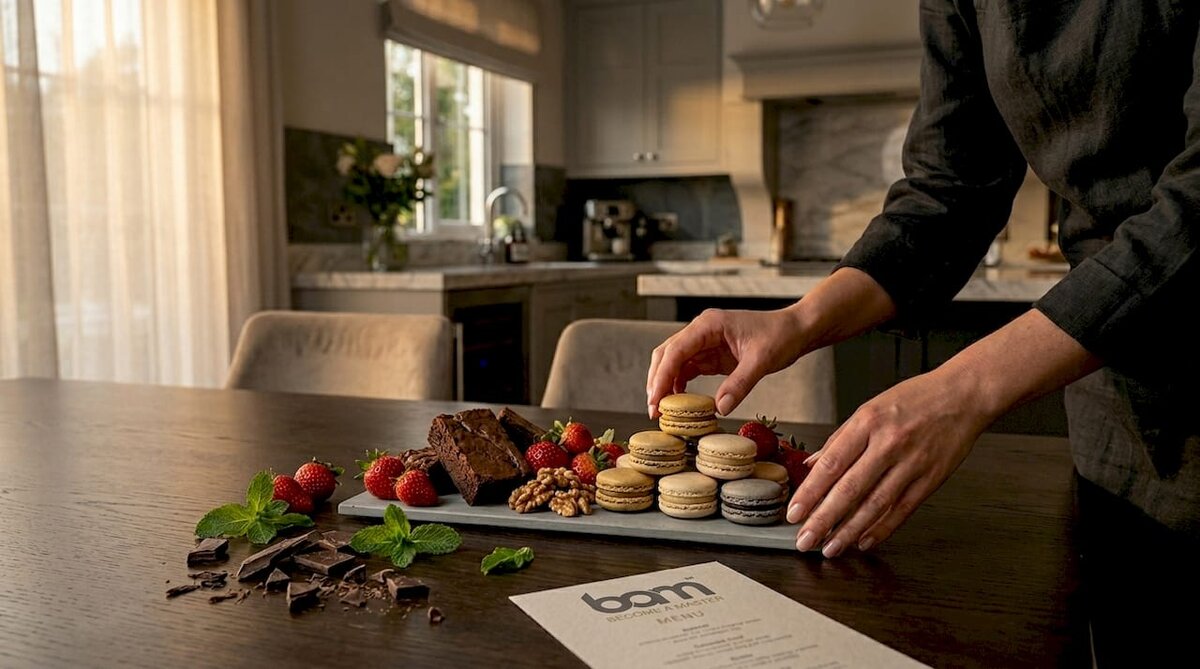
Miniature desserts are particularly well suited to platters. Mini items simplify serving and personal portioning, and many require only around 30 minutes of active preparation. Mini pies in cupcake liners, bite-sized cheesecakes, and small chocolate-dipped strawberries all work well without demanding advanced baking skills.
For tools, a large neutral-coloured board in wood or marble gives you a clean visual base that does not compete with the food. Small ceramic bowls and ramekins are non-negotiable: they contain loose items like chocolate chips, nuts, and dipping sauces while adding height variation to the layout. Serving tongs and small spoons complete the practical side.
| Dessert type | Tool pairing |
|---|---|
| Brownies and cake slices | Flat board section, no container needed |
| Truffles and macarons | Small ramekin or ceramic bowl |
| Fresh berries and grapes | Shallow bowl to contain rolling items |
| Biscuits and wafers | Fanned directly on the board surface |
| Dips and spreads (chocolate ganache, cream) | Deep ramekin with a small spoon |
Pro Tip: A well-filled 13-by-9-inch board serves approximately six people comfortably. For marquee items like macarons or truffles, plan for one to two pieces per guest and fill remaining space with nuts, candies, and fruit.
The assembly sequence is the single biggest factor in whether a platter looks designed or dumped. Treat the layout as a design system with four distinct stages: anchors, lines, folds, and fillers. This approach reduces decision fatigue and produces a board that looks intentional and abundant rather than random.
Follow this numbered sequence for consistent results:
Height variation is what separates a flat-looking tray from a proper display. Engineer height by stacking, leaning, and using ramekins so the board has visual movement rather than a single flat plane. Lean biscuits against a ramekin, stack two brownies, or prop a wafer roll at an angle.
Colour placement matters as much as item selection. Avoid placing similar-coloured items together: red strawberries next to red grapes flatten the visual impact immediately. Use white chocolate pieces, mint leaves, and citrus slices as natural colour breaks between darker or similarly toned items. You can read more about pairing fruit and chocolate for colour and flavour combinations that work particularly well on platters.
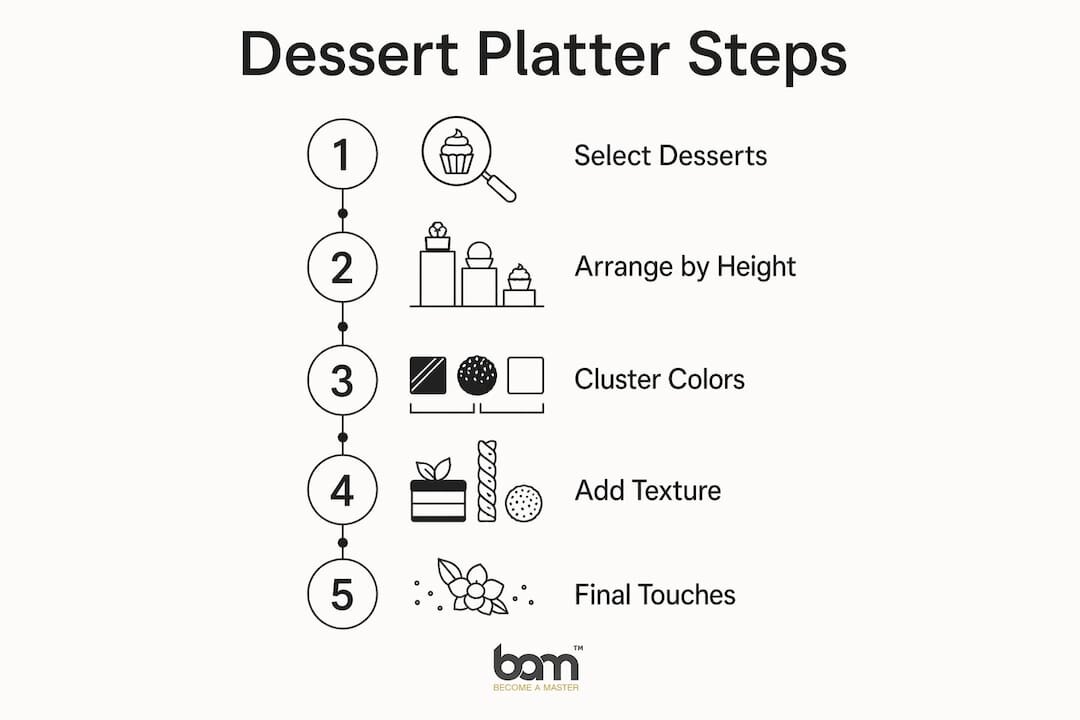
Pro Tip: Group colours in clusters of three to five items, then deliberately separate each cluster with a contrasting colour or texture. This creates rhythm across the board without requiring a formal grid.
Timing is where most home cooks lose ground on presentation. Assemble the platter no more than 30 minutes before serving for peak freshness and visual appeal. Assembling too early causes fruit to weep, chocolate to bloom in warm rooms, and whipped elements to deflate.
The practical solution is to separate preparation from assembly. Prep all components the day before and store them correctly, then build the board on the day.
Pro Tip: Keep a small reserve of berries, chocolate chips, and nuts off the board. After 30 minutes at a party, guests will have taken items from certain spots. Use the reserve to quickly refresh the board without rebuilding it from scratch.
Even well-planned platters can fall flat when a few key principles are ignored. Recognising the most frequent errors makes it straightforward to correct them before guests arrive.
A platter that looks unfinished can be rescued in under two minutes. Add a few dollops of whipped cream, dust lightly with icing sugar, and tuck in a handful of fresh berries. These three additions reset the visual balance without requiring you to rearrange anything.
For chocolate decorations that add a professional finish, simple curls, shards, or leaves made from tempered chocolate are far more effective than elaborate piping.
A well-built dessert platter requires deliberate sequencing, texture contrast, and assembly within 30 minutes of serving.
| Point | Details |
|---|---|
| Select 4 to 6 dessert types | Cover soft, crunchy, rich, and light textures for genuine variety and guest interest. |
| Use the anchor-to-filler sequence | Place bowls first, then large items, medium lines, soft folds, and small fillers last. |
| Engineer height throughout | Stack, lean, and use ramekins to avoid a flat layout and create visual movement. |
| Assemble close to serving time | Build the board within 30 minutes of serving to preserve freshness and appearance. |
| Separate similar colours | Place contrasting items between same-coloured clusters to maintain visual impact. |
The most common mistake I see is treating a dessert platter like a shopping list rather than a layout problem. People buy excellent ingredients and then place them on the board in the order they come out of the bag. The result is a platter that has good food but no visual logic.
What actually works is mixing homemade and store-bought items without apology. A batch of homemade brownies next to quality Bamchocolate truffles and a handful of fresh raspberries looks more considered than a board of entirely homemade items that took three times as long to prepare. Guests do not audit the provenance of each item. They respond to variety, colour, and the sense that someone thought about what they would enjoy.
The other thing I would push back on is the idea that platters need to be elaborate to impress. The boards that get the most attention at events are usually the ones with clear colour contrast, a couple of height points, and one or two items people do not expect, such as a small pot of chocolate ganache for dipping or a scatter of edible flowers. Restraint and intention read as skill far more reliably than volume.
Follow the assembly sequence, keep a reserve of fillers, and build the board as close to serving time as you can manage. Everything else is creative preference.
— Andraz
Bamchocolate stocks everything you need to fill a dessert platter with quality confectionery. The BAM Confectionery set with creamy fillings gives you ready-to-use spreads and dips that work directly in ramekins as platter anchors. For a broader selection, the BAM Large Confectionery Bundle covers a full range of fillings, chocolates, and baking accessories suited to both home cooks and event planners. If you want structured recipe guidance alongside your ingredients, the 101 BAM pastry recipe book pairs directly with the product range to take the guesswork out of homemade platter items. Browse the full baking accessories range to find boards, tools, and decorative supplies in one place.
A 13-by-9-inch board serves approximately six people when well filled. Scale up to a larger board or use multiple boards for groups of ten or more.
Plan for 4 to 6 dessert types to cover the main texture and flavour profiles. Fewer than four types makes the platter feel limited; more than six can make it look cluttered.
Assemble no more than 30 minutes before serving for best results. Prep all components the day before and store them separately to save time on the day.
Coffee and tea are the most practical pairings for a mixed dessert board. For specific coffee and food pairings that complement chocolate-heavy platters, lighter roasts tend to balance rich truffles and ganache without overpowering fruit-based items.
Add whipped cream dollops, dust with icing sugar, and fill exposed gaps with fresh berries or chocolate chips. Two finishing touches are sufficient to give the board a polished appearance without rearranging the entire layout.



 Confectionery tips


 Slovenščina
 Hrvatski
 Deutsch
 Italiano
 Česky
Česky
 Polski
 Magyar
 Français
 Slovák
 Nederlands
 Español