 info@bamchocolate.com
  Login
Login 

 en
en 
 BAM Cake converter
  Login
Login Claudia
Avtorica vsebin


 Reading time:
10 minutes
Reading time:
10 minutes 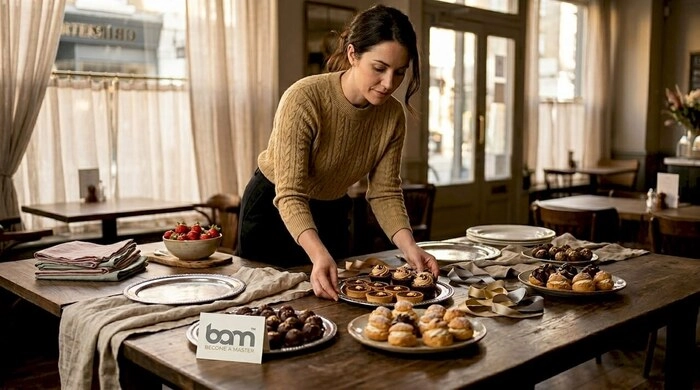
Master custom dessert table planning with our practical guide. Create a stunning display that captivates your guests and enhances your event!
TL;DR:
- A well-designed dessert table enhances the event’s visual appeal and serves as a social focal point.
- Careful planning involves aligning the theme, selecting appropriate desserts, and creating a cohesive layout that balances aesthetics and functionality.
A well-designed dessert table does more than hold sweets. It anchors the room, gives guests something to gather around, and sets the visual tone for your entire event. Yet custom dessert table planning is where most hosts either overthink or underplan. They either cram in too many ideas or treat the table as an afterthought, slapping a few plates of biscuits next to the cake. This guide covers everything you need: choosing a theme, selecting the right desserts, laying out the table, and assembling it on the day without stress.
| Point | Details |
|---|---|
| Align theme with event style | Choose a colour palette and visual theme that matches your overall event décor, not just the sweets. |
| Plan dessert quantities carefully | Aim for 2-3 pieces per guest for most events, scaling up if desserts are the primary food. |
| Vary heights and textures | Use risers, stands, and boxes to create visual depth and make the table photograph well. |
| Set up 90 minutes early | Allow time for photography and last-minute adjustments before guests arrive. |
| Include dietary options | Label allergen-friendly desserts clearly so all guests feel considered and welcome. |
The most common mistake in dessert table planning is treating the table as a separate project from the rest of the event. Dessert tables work best when they are integrated into the overall event design, sharing the same colour palette, materials, and mood as the floral arrangements, table settings, and venue styling.
Start by identifying two or three coordinating colours. These will guide every decision from the tablecloth to the icing on your cake. A dusty rose, sage green, and ivory palette reads as elegant and works for weddings, bridal showers, or milestone birthdays. Navy, gold, and white suits formal celebrations. Terracotta, rust, and cream creates a warm, rustic feel for outdoor events.
Popular themes that translate well to dessert tables include:
Once you have your theme and palette, choose a backdrop. A fabric drape, a floral wall, or even a large printed banner instantly frames the table and gives it a finished look in photographs. The backdrop is often what separates a polished dessert display from a buffet table.
Pro Tip: Use the same fabric or ribbon from your table linen as a tie on jars, labels, or floral picks elsewhere on the table. This small repetition creates visual cohesion without extra effort.
Getting the quantities right is where many hosts go wrong. For most events, plan 2-3 pieces per guest. If desserts are the primary food rather than a supplement to a full meal, increase that to 4-5 pieces per person. For weddings with multiple food courses, 1-2 pieces per guest is sufficient. For a gathering of 30 people, that means preparing between 60 and 90 individual pieces.
Variety matters as much as quantity. Aim for 5-8 different dessert types, structured around one hero piece, two or three supporting desserts, and one or two easy extras. A typical menu might look like this:
| Dessert type | Role | Example |
|---|---|---|
| Hero cake | Centrepiece and focal point | Tiered celebration cake |
| Supporting dessert 1 | Flavour variety | Chocolate tart or lemon posset |
| Supporting dessert 2 | Texture contrast | Choux puffs or meringues |
| Supporting dessert 3 | Guest favourite | Brownies or blondies |
| Easy extra 1 | Quick grab option | Macarons or truffles |
| Easy extra 2 | Dietary alternative | Fruit skewers or sugar-free bites |
Bite-size and mini desserts are worth prioritising. They let guests try more options without committing to a full portion, reduce waste, and keep the table looking abundant throughout the event. Pre-portioned desserts also reduce labour and minimise the messy mid-event cutting that disrupts display.
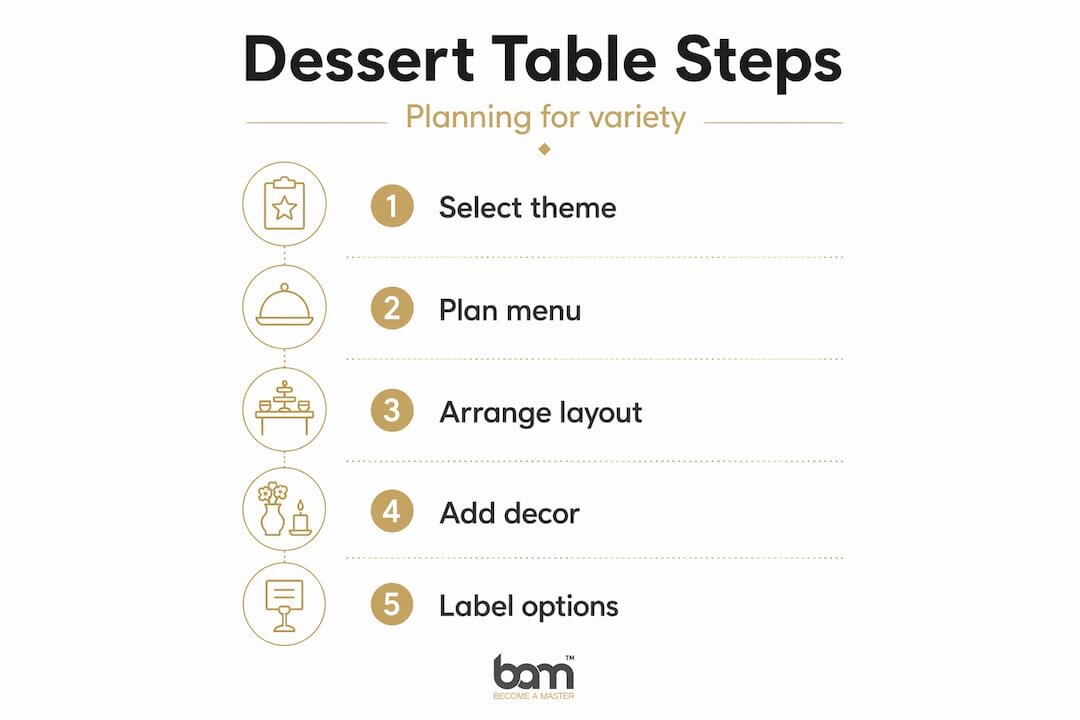
Do not overlook dietary requirements. Clearly label any gluten-free, dairy-free, vegan, or nut-free options. A small printed card next to each item takes minutes to prepare and makes a meaningful difference to guests with allergies or restrictions.
Pro Tip: Mix homemade showpieces with quality store-bought items. Bake the hero cake yourself and fill out the table with premium purchased truffles, macarons, or confectionery sets. This saves time without compromising the overall impression.
The physical setup of your dessert table has three jobs: it needs to photograph well, pace the evening, and serve guests quickly. A table that looks beautiful but creates a bottleneck fails at two of those three.
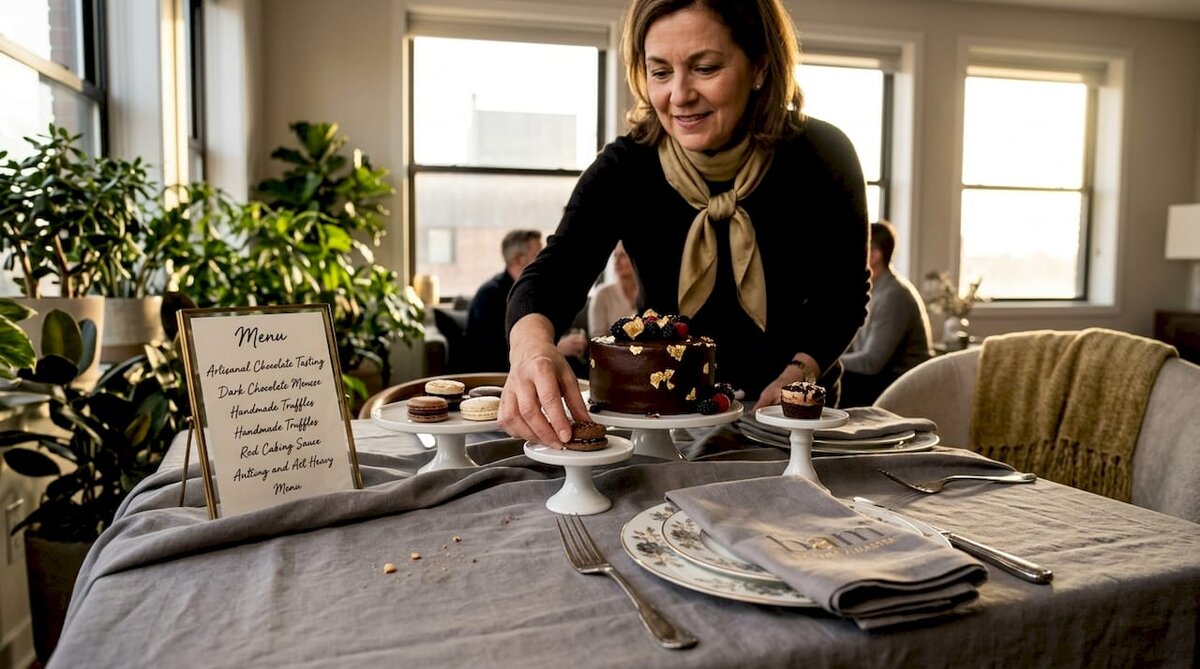
Table size should match your guest count and venue. A 6-foot table suits 50 to 80 guests comfortably. An 8-foot table works for 80 to 150 guests. For events over 150 people, two parallel 6-foot tables placed side by side allow guests to approach from both sides, which is more practical than a single long table.
Height variation is one of the most effective tools in dessert table decoration. A flat table of same-height platters looks static. Varying the levels draws the eye across the whole display and makes it feel considered. A 3-tier cake needs only a 4-inch pedestal for visual balance, while a single-tier cake benefits from a taller plinth of 10 to 14 inches to give it comparable presence.
You do not need to buy expensive risers. Sturdy boxes placed under tablecloths create height variation at no extra cost. Cake stands, stacked books covered in fabric, and wooden crates all work well. The key is to vary the levels across the full width of the table so no section looks flat.
Arrange the table with the hero cake at the back centre, flanked by mid-height supporting desserts. Place smaller items and easy extras at the front and sides where guests can reach them without disrupting the display. Position plates and napkins at the start of the natural flow, not at the end. This prevents guests from reaching across the table and knocking things over.
Common layout mistakes to avoid:
Pro Tip: Stick to one or two material types for your stands and risers. All white ceramic, all natural wood, or all metallic finishes create a cleaner look than a mix of everything you own.
A clear sequence makes event-day setup far less stressful. Follow this order:
Allow 90 minutes before guests arrive to complete setup. The breakdown is roughly 30 minutes for physical setup, 30 minutes for photography, and 30 minutes as a buffer for adjustments or last-minute additions.
A few practical points to keep in mind:
Pro Tip: Take a photo of your planned layout before the event day. Use it as a reference when setting up under pressure so you do not have to make design decisions on the spot.
Even well-planned dessert tables run into issues. Here is how to handle the most common ones.
A dessert table that looks beautiful at the start but becomes a mess within the first hour reflects poor planning, not bad luck. Build replenishment and maintenance into your event plan from the beginning.
I have seen a lot of dessert tables. The ones that stand out are never the most complicated. What I have found is that hosts who spend hours sourcing obscure props and trying to replicate something they saw online often end up with a table that feels busy and disconnected. The tables that genuinely impress guests are the ones where someone made a clear decision about what they wanted and stuck to it.
The biggest misconception I come across is that more equals better. More dessert types, more decoration, more height levels. In practice, a table with five well-chosen items displayed with intention beats a table of fifteen options arranged without a clear visual plan.
What I have also learned is that the dessert table is not just about the food. It is a social anchor. Guests gravitate towards it, linger around it, and use it as a reason to start conversations. That means guest flow matters as much as aesthetics. A table that is beautiful but awkward to access will frustrate people, and that frustration colours their memory of the event.
My advice: decide on your theme before you buy a single item. Then let that theme make every subsequent decision for you. When you are unsure whether a particular stand or decoration fits, hold it against your palette and ask whether it belongs. If it does not, leave it out. Restraint is what separates a styled table from a cluttered one. And do not be precious about mixing quality store-bought confectionery with homemade pieces. Guests remember how the table felt, not whether every item was baked from scratch.
— Andraz
Bamchocolate offers a range of products that make dessert table preparation straightforward, whether you are baking from scratch or assembling a display with premium ready-made items. The basic confectionery bundle covers the core ingredients most dessert tables need, while the large confectionery bundle is well suited to bigger events. For hosts who want to add distinctive flavours, the exotic fillings set and fruit fillings set offer ready-to-use options that save preparation time without sacrificing quality. Browse the full range of baking accessories to find tools that support every stage of your dessert table setup.
Plan for 2-3 pieces per guest at most events. Increase to 4-5 pieces if desserts are the main food, or reduce to 1-2 pieces at weddings with full catering.
Aim for 5-8 different types, built around one hero cake, two or three supporting desserts, and one or two easy extras to avoid overwhelming guests.
Begin setup 90 minutes before guests arrive and place the hero cake no earlier than 45 minutes before cutting to keep it fresh.
A 6-foot table works for 50 to 80 guests. For larger gatherings of 150 or more, two parallel 6-foot tables provide better access than a single long table.
Place sturdy boxes under tablecloths to create tiered levels without buying specialist stands. Vary heights across the full width of the table for the best visual effect.



 Confectionery tips


 Slovenščina
 Hrvatski
 Deutsch
 Italiano
 Česky
Česky
 Polski
 Magyar
 Français
 Slovák
 Nederlands
 Español