 info@bamchocolate.com
  Login
Login 

 en
en 
 BAM Cake converter
  Login
Login Claudia
Avtorica vsebin


 Reading time:
10 minutes
Reading time:
10 minutes 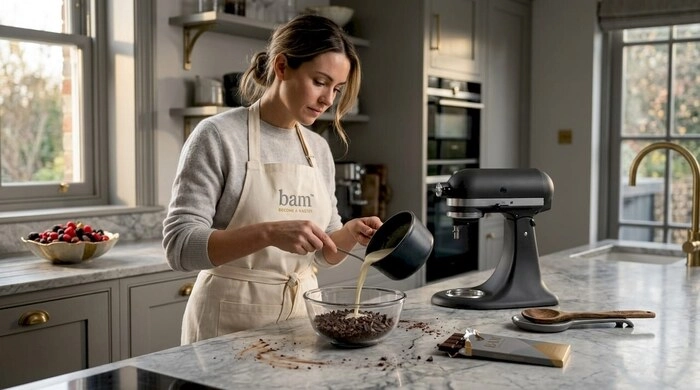
Master your skills with our chocolate ganache tutorial! Learn precise techniques and tips to achieve the perfect texture every time.
TL;DR:
- Ganache is a delicate emulsion of melted chocolate and warm cream that requires precise ratios and temperature control for best results. Using high-quality chocolate and cream, weighing ingredients accurately, and patiently following each step ensures a smooth, glossy, and versatile finish. Most issues like seizing or splitting are fixable with simple troubleshooting, making ganache an approachable yet technical confection.
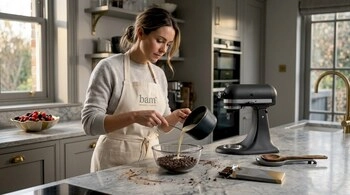
Ganache looks deceptively simple on paper. Chocolate, cream, done. But if you have ever ended up with a grainy mess, a split sauce, or something that set like a rubber disc, you already know this chocolate ganache tutorial is for you. The truth is that ganache is a fat-and-water emulsion, and small mistakes in temperature, ratios, or technique break it fast. This guide walks you through every stage: ingredients, ratios, the step-by-step process, troubleshooting, and storage. Follow it once and you will understand exactly why each step matters.
| Point | Details |
|---|---|
| Weigh everything | Volume measures are unreliable; use a kitchen scale for consistent results every time. |
| Match ratios to chocolate type | Dark, milk, and white chocolate each need different cream-to-chocolate ratios for the right texture. |
| Temperature controls texture | Cooling ganache to 29–35°C gives a pourable, mirror-like glaze; too cold and it sets too firm. |
| Dry utensils prevent seizing | Even a small amount of moisture can cause chocolate to seize before you add the cream. |
| Most problems are fixable | Split or grainy ganache can usually be rescued with warm liquid and patient stirring. |
Getting the ingredients right before you start is not optional. It is the difference between ganache that works and ganache that fights you.
Chocolate choice matters more than you think. Chopped chocolate bars produce smoother, shinier ganache than chocolate chips. Chips contain stabilisers that interfere with melting and leave the finished ganache dull. Buy a bar and chop it finely yourself. For guidance on selecting the right type for your recipe, the Bamchocolate article on choosing chocolate for baking is a practical starting point.
Cream fat content is non-negotiable. You need double cream or whipping cream with at least 35% fat for a stable ganache. Lower-fat creams produce thin, runny results that break down quickly. Ultra-pasteurised (UHT) cream also destabilises ganache faster than standard pasteurised cream, so use fresh cream where possible.
Here is what you need before you begin:
Pro Tip: Make sure every bowl and utensil is completely dry before it touches your chocolate. Steam condensation on a warm bowl is enough to trigger seizing before you even add the cream.
This is where most home bakers go wrong. They use the same ratio for every chocolate type and wonder why their white chocolate ganache never sets, or why their dark chocolate ganache is too firm to spread.
Measuring by weight is the only reliable method. Chocolate density varies significantly between brands and types, so cup measures are not consistent.
| Chocolate type | All-purpose ratio | Firm truffles | Pourable glaze |
|---|---|---|---|
| Dark (70%) | 1:1 (choc:cream) | 2:1 | 1:2 |
| Milk | 2.5:1 to 3:1 | 3:1 | 1.5:1 |
| White | 3:1 to 4:1 | 4.5:1 | 2:1 |
The reason milk and white chocolate need more chocolate relative to cream is their lower cocoa solid content and higher sugar and milk fat levels. They simply cannot set at the same ratio as dark chocolate.
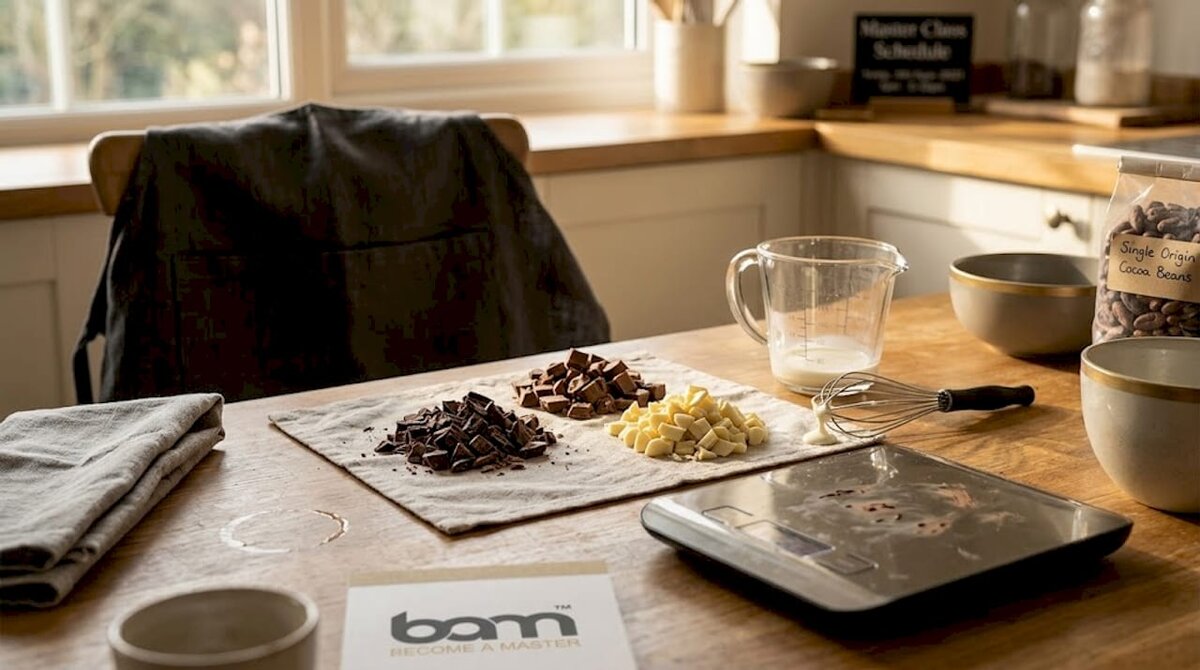
Temperature control is equally critical. Heat your cream until it is just below boiling, around 85 to 90°C. You want it hot enough to melt the chocolate rapidly but not so hot that it scorches the cocoa solids or destabilises the emulsion. For a finished pourable glaze, cooling to 29 to 35°C gives you that mirror-like surface and smooth flow. Too warm and it runs off the cake in thin drips. Too cold and it drags and sets unevenly.
Pro Tip: Use an instant-read thermometer. It removes all the guesswork from both heating the cream and checking the ganache before you pour.
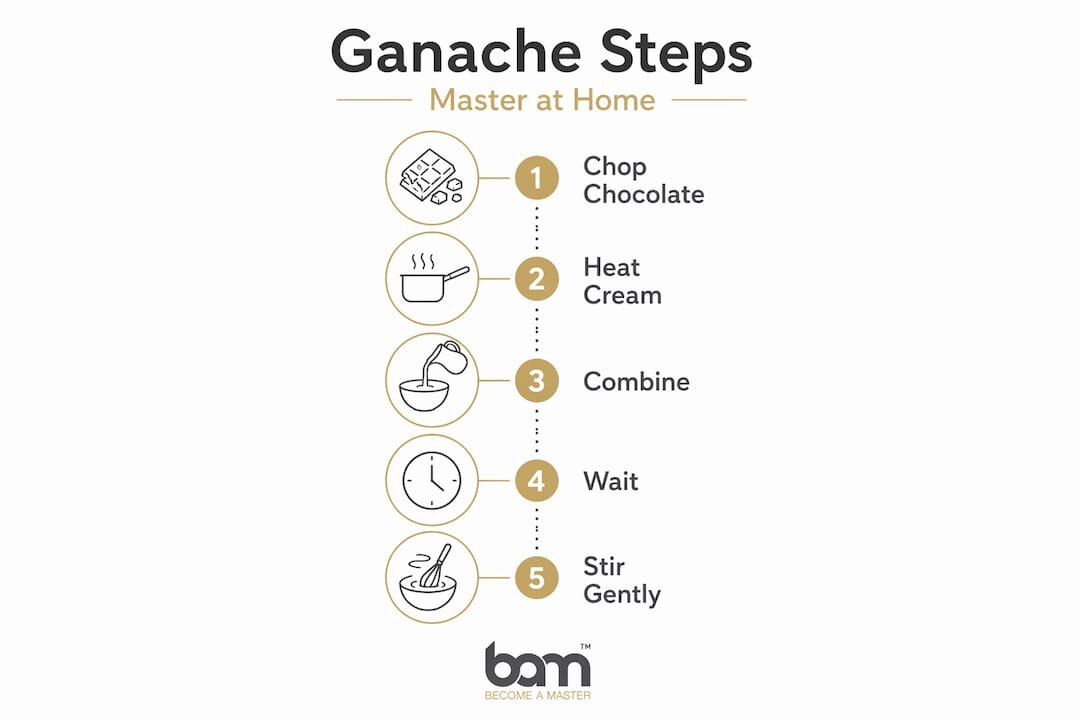
Here is the full process. Follow each step in order and do not rush the waiting time in step three.
| Step | Action | Why it matters |
|---|---|---|
| 1 | Chop finely | Even melting, no lumps |
| 3 | Heat to just below boiling | Melts chocolate without scorching |
| 4 | Wait 2 to 3 minutes | Allows even heat distribution |
| 5 | Stir centre outward | Emulsifies without adding air |
| 7 | Blend (optional) | Maximises gloss and smoothness |
Pro Tip: If you prefer a double boiler method, place your bowl of chocolate over a pan of barely simmering water and add the cream directly. Stir constantly and keep the heat low. Microwave melting is possible but must be done in 20 to 30 second bursts with stirring between each to avoid overheating.
Even experienced bakers run into ganache problems. Knowing what causes them makes fixing them straightforward.
Seizing happens when a small amount of water contacts the chocolate before the cream is fully incorporated. As little as 1.5% water by weight is enough to trigger it. That is roughly a third of a teaspoon per 100g of chocolate. The sugar crystals in the chocolate clump around the water droplets, turning the mixture thick and grainy almost instantly.
The fix is counterintuitive: add more liquid. Adding warm cream or water a tablespoon at a time and stirring gently inverts the emulsion from a thick, clumped state back to a smooth one. Do not add cold liquid. Cold liquid tightens the clumps rather than releasing them.
Splitting happens when the emulsion breaks and the fat separates from the liquid. Common causes include cream that is too hot, chocolate that is too cold, or stirring too aggressively. You will see an oily, grainy mixture with visible fat pooling on the surface.
To rescue it: add one tablespoon of warm cream per cup of ganache and stir slowly from the centre outward. Repeat until the emulsion comes back together. Patience here is everything.
Adding a tablespoon of corn syrup or glucose to your cream before heating acts as a stabiliser and adds extra shine to the finished ganache. It is a small addition that makes a noticeable difference to both texture and appearance.
Ganache changes texture as it cools, and you can use that to your advantage.
Slow cooling at room temperature stabilises the emulsion best. Rapid chilling in the fridge can cause uneven setting, streaks, or a dull finish. If you need to speed things up, place the bowl in a larger bowl of cold water and stir constantly.
To reheat ganache, use a double boiler or microwave in short 15-second bursts, stirring between each. Never reheat on direct high heat. The emulsion will break.
For storage, keep ganache in an airtight container. At room temperature it lasts 2 days. In the fridge, up to 2 weeks. Freezing is not recommended as it can cause the emulsion to separate on thawing.
For recipe ideas on how to use ganache across different desserts, the Bamchocolate guide on ganache cream applications covers fillings, glazes, truffles, and more.
I spent a long time thinking ganache was just melted chocolate and cream. It is not. Ganache is a delicate emulsion, and once you understand that, every step in this tutorial makes logical sense rather than feeling like arbitrary rules.
The biggest shift for me was weighing ingredients. I resisted it for ages, thinking a rough measure was close enough. It is not. A few grams off in either direction changes the texture entirely, especially with milk and white chocolate where the ratios are tighter.
I have also learned to embrace the waiting time after pouring the cream. The urge to stir immediately is strong. Resist it. Those two to three minutes of doing nothing are doing a lot of work.
My honest advice: make a small test batch first. Use 100g of dark chocolate and 100g of cream. Get the process right at small scale before you commit to a full cake glaze. The mistakes are cheaper and the lessons stick faster.
The other thing nobody tells you is that most ganache failures are recoverable. A split ganache, a seized batch, a grainy texture. All of them have fixes. Knowing that removes the anxiety and lets you actually enjoy the process.
— Andraz
Getting the technique right is only half the work. The quality of your chocolate and cream determines the ceiling of what your ganache can be. Bamchocolate stocks premium baking accessories and tools suited to precise ganache preparation, from heatproof bowls to kitchen scales. For home bakers who want to go further, the basic confectionery bundle brings together the core ingredients needed to start making ganache, truffles, and glazes with professional-grade materials. If you want structured guidance alongside your ingredients, the 101 BAM pastry recipe collection includes techniques that build directly on ganache skills. Quality ingredients, reliable tools, and good recipes make consistent results achievable at home.
Chocolate ganache is an emulsion of melted chocolate and warm cream. It is used as a glaze, filling, frosting, or truffle base depending on the ratio of chocolate to cream.
For dark chocolate, a 1:1 ratio by weight works for all-purpose ganache. Milk and white chocolate need more chocolate relative to cream, typically 2.5:1 to 3:1 and 3:1 to 4:1 respectively, because of their lower cocoa solid content.
Seizing is usually caused by moisture contacting the chocolate before the emulsion forms. As little as 1.5% water by weight can trigger it. Fix it by adding warm liquid a tablespoon at a time and stirring gently from the centre outward.
Yes. Add one tablespoon of warm cream per cup of ganache and stir slowly from the centre outward until the emulsion comes back together. Avoid cold liquid and aggressive stirring.
Ganache stored in an airtight container lasts up to 2 days at room temperature or up to 2 weeks in the fridge. Freezing is not recommended as it can cause the emulsion to break on thawing.


 Confectionery tips



 Slovenščina
 Hrvatski
 Deutsch
 Italiano
 Česky
Česky
 Polski
 Magyar
 Français
 Slovák
 Nederlands
 Español